Sunday, June 20, 2021

A flurry of finishes!


When one quilt is being quilted by a long armer,

and another by me on my trusted Juki,

is it any surprise that I have two quilts 

finished in a matter of days...

and another top complete!

But I will share just one of these with you today....

I'm calling this "Rainbow Confetti".....

I will explain why at the end.


I used many of my lovely Aurifil threads, which I won(!) 

to quilt the motif in the centre.


The threads positively melted into the blocks.

It was a beautiful day today,

cold but sunny and still!


so it was the perfect opportunity to get some outside 

photos!


                     And some inside ones too.

And I got to try out my new quilt holding 

contraption too!

My friend Elizabeth @occasionalpiecequilts made one

which you can see in her post here 

 I decided it was time to make one of my own...


You might be able to see them in the photo above-

clamps taped to pieces of dowel (patent pending 😁) 

I was able to use them to lean the quilt up against the 

brush fence.


Why "Rainbow Confetti"?

One reason is the backing looks like confetti to me.

The other is that I listened to this amazing book while I 

quilted this quilt.


I loved everything about this book- the true-to-life characters, the underlying themes of friendship, loyalty and family and of course the topics of sewing, quilting, books and Scrabble.

I can highly recommend it!

I guess I will be back with another finish soon!


Quilt finish #5-2021

Finished size 58.5" square

Lifetime quilt #134

Happy sewing,

SUZ


Sunday, June 13, 2021

A Catch-Up!

  A two-week lockdown meant lots of sewing time!

So Bessie Creek Road is now a flimsy!

I'm calling her "Peppermint Parade"

for all the minty colours in it.


I intend to hand quilt this one....


                   I just need to get it basted first!


My scrappy rainbow blocks are together too.

I posted this photo on Instagram,

and many followers liked the possibility of dark sashing.

But with dark winter days here, I wanted something 

lighter.


I turned them 'on-point, and added a neutral sashing 

and spotted cornerstones.


It did require making a few more blocks for the edges 

but ....


today I got it basted!

Happy sewing...

SUZ

Sunday, June 6, 2021

A quilt with no name....yet!

Much as I try, I cannot settle on a name for this quilt!

Sue Daley, the designer, calls it Quattro Colour!

But I feel it needs to be a little more special.

Anyway, here she is.....


 I've spent the last week quilting a simple flower design 

with a Westalee ruler...


Initially I was concerned about the centre 'blob' where 

the stitching starts and finishes...


but I figure once it is washed and dried, 

it will be barely noticeable.


The back is very neat!

I kept the quilting simple in the border too....


it is barely visible, being on black fabric.

I used my Aurifil thread stash with mainly white on the 

front and the dark grey on the back!


The quilt finished at about 68" square....


Not much else to add, 

so enjoy the photos....


Quilt swirls are a big thing on Instagram

And a quilt roll

And another shot of the back.

A label will need to wait until I settle on a name.

It's been a while since I had a quilt finish!

I'm hoping to share another one with you soon!


Quilt #4 for 2021
Lifetime quilt #133

Happy sewing...

Edited- I have decided to call this "Pastiche" - thanks Anne @Springfield Studios for the suggestion!

SUZ


Tuesday, May 25, 2021

Building Blocks

I had a comment from Kit Kat on my last blogpost,

wondering if I had any hints about making my scrappy 

rainbow blocks.

So I thought I would share my process with you.


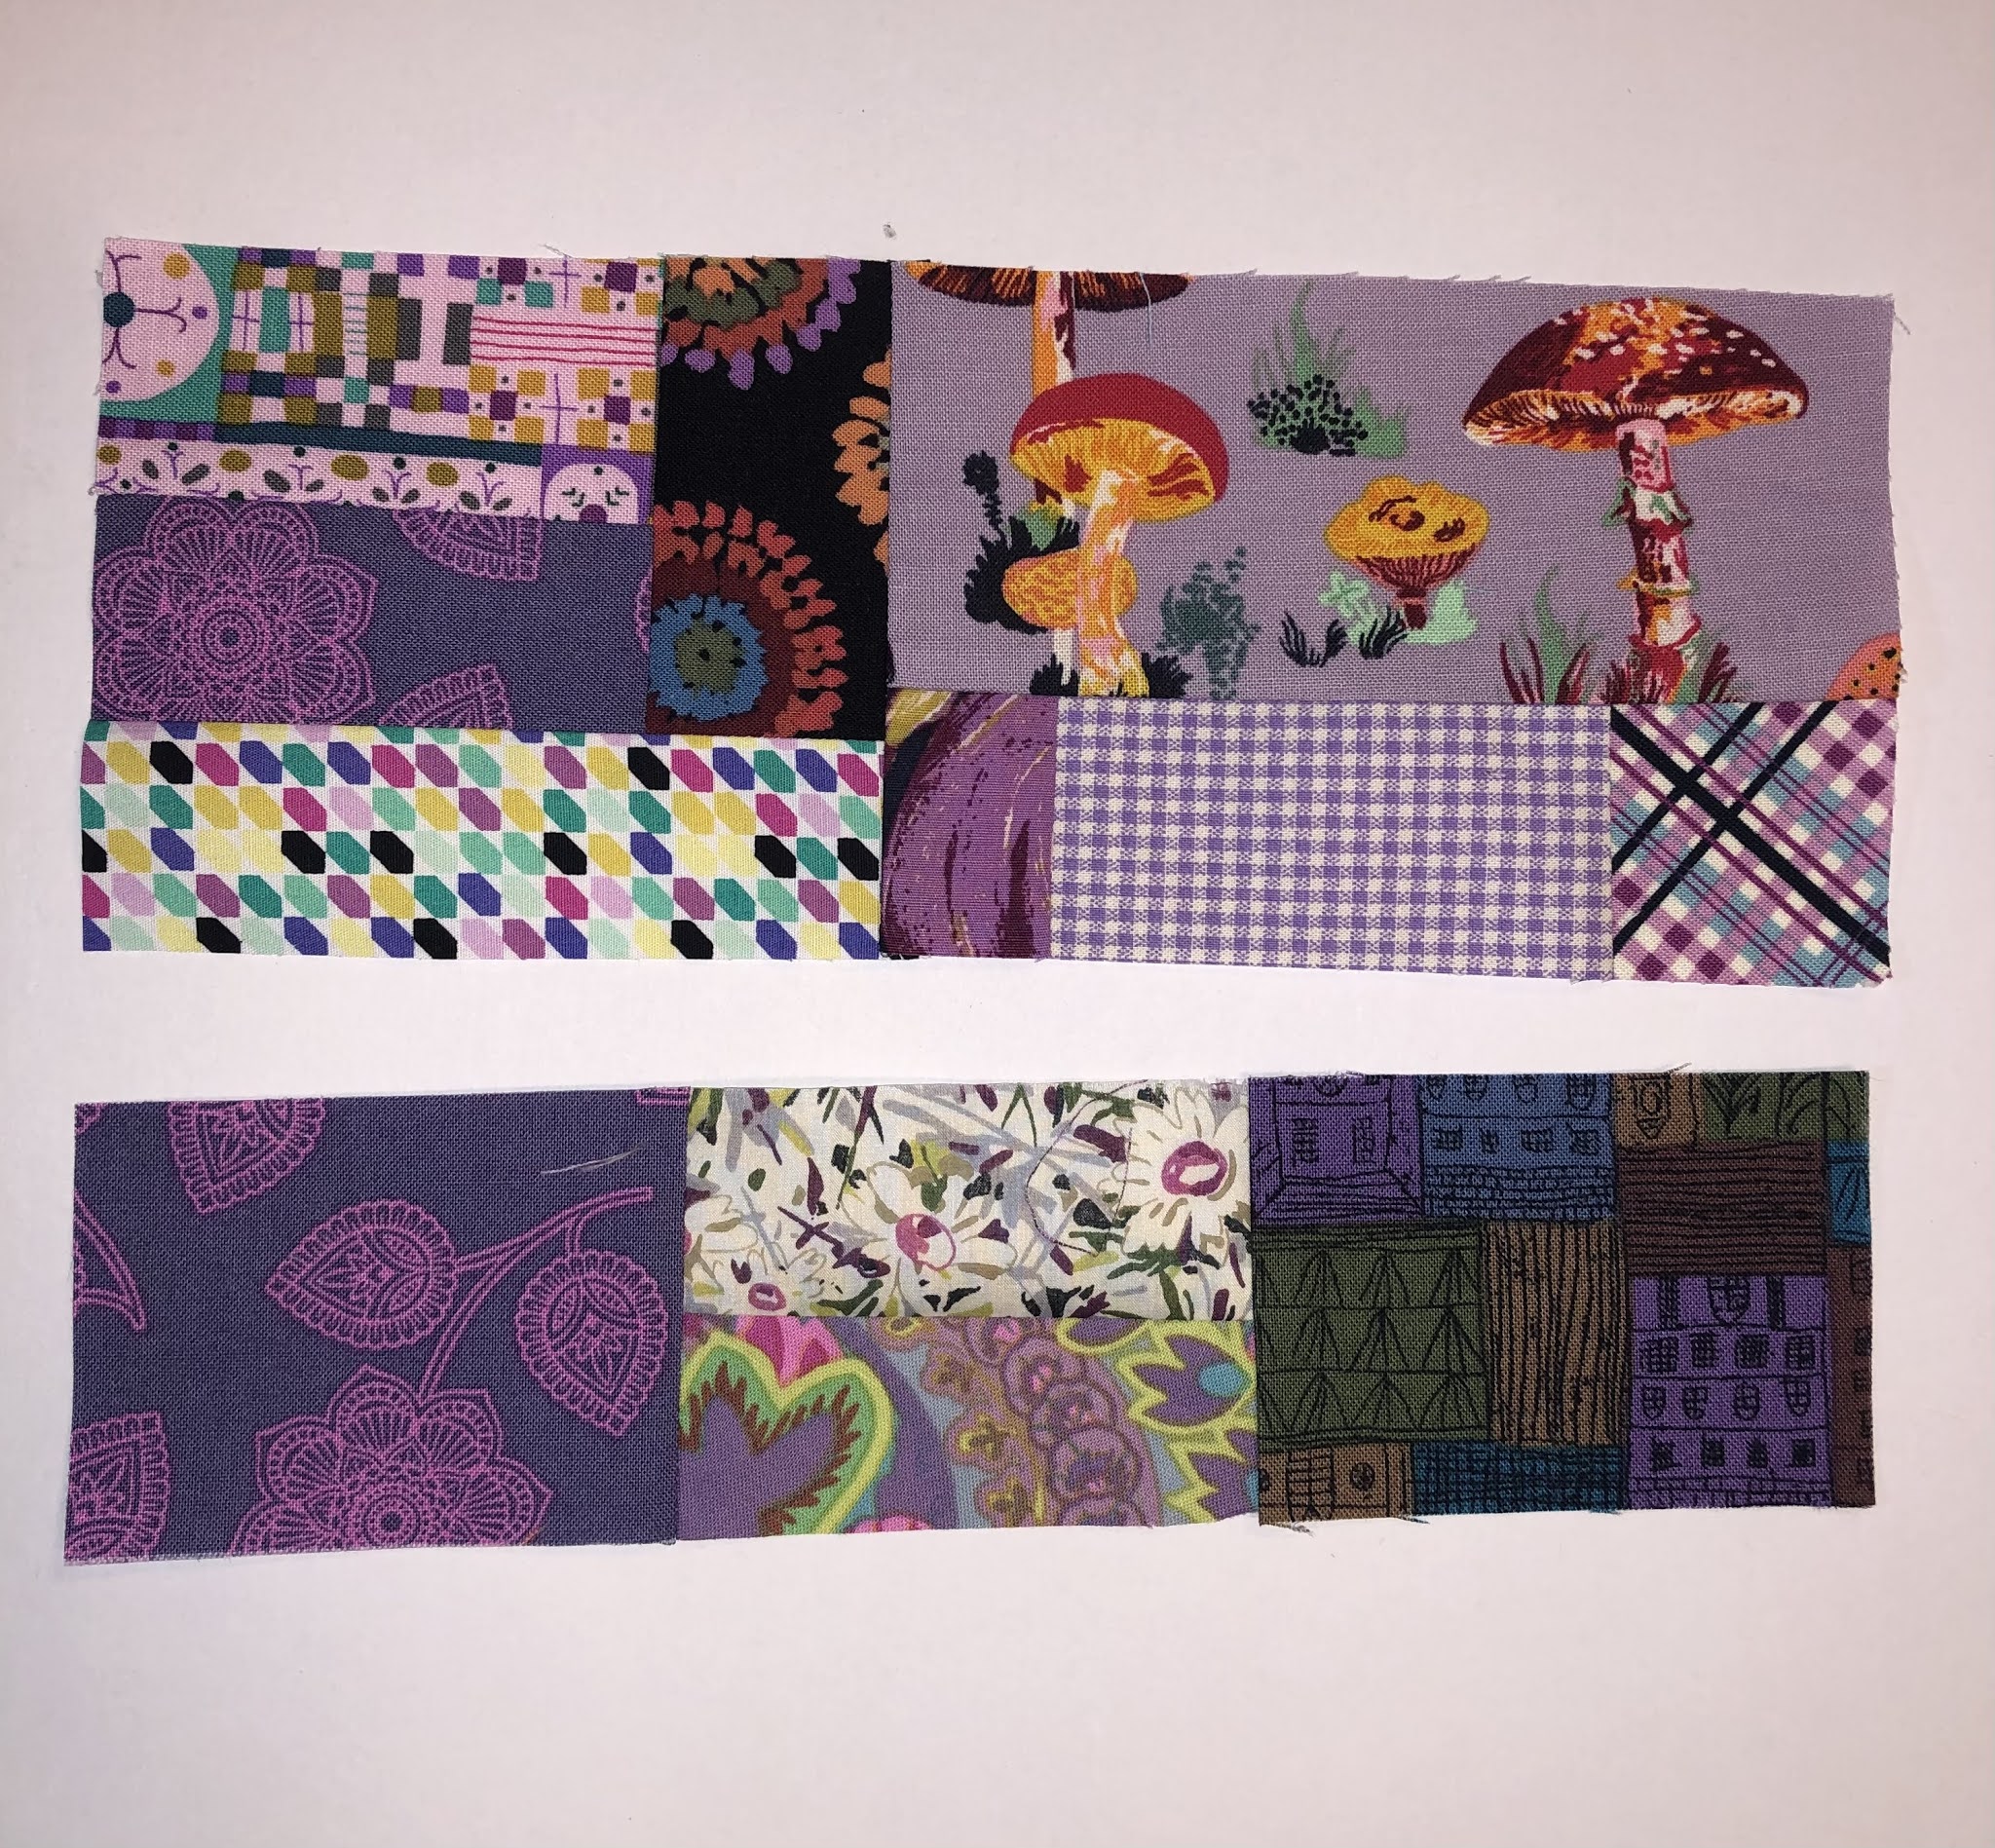
Firstly I find all my small pieces, either squarish or 

rectangular. 

Notice that they are not perfectly straight.

I start chain piecing three or four 'units'.

I don't press or trim at this early stage, preferring to 

give a good finger press while I build my block.


I'm aiming for a block that is about 9" square,

so I use the ruler on my machine table to keep things 

on track.


Time to press and trim!

Not everything will fit together perfectly, but trimming

doesn't worry me.... 


they are scraps, after all!

As I knew the block was wide enough, I just kept 

piecing to make another 9" wide unit.


I just needed one last narrow unit to get the block up to 

size.


I try to keep the small pieces in the middle of the block.

I don't want them trimmed off to make my block the 

correct size. 

Or lost in a seam allowance once it is pieced with its 

rainbow neighbour.


(If you still have questions, please leave me a comment, but make sure you are not a 'no-reply commenter', or leave your email address in the comment.)

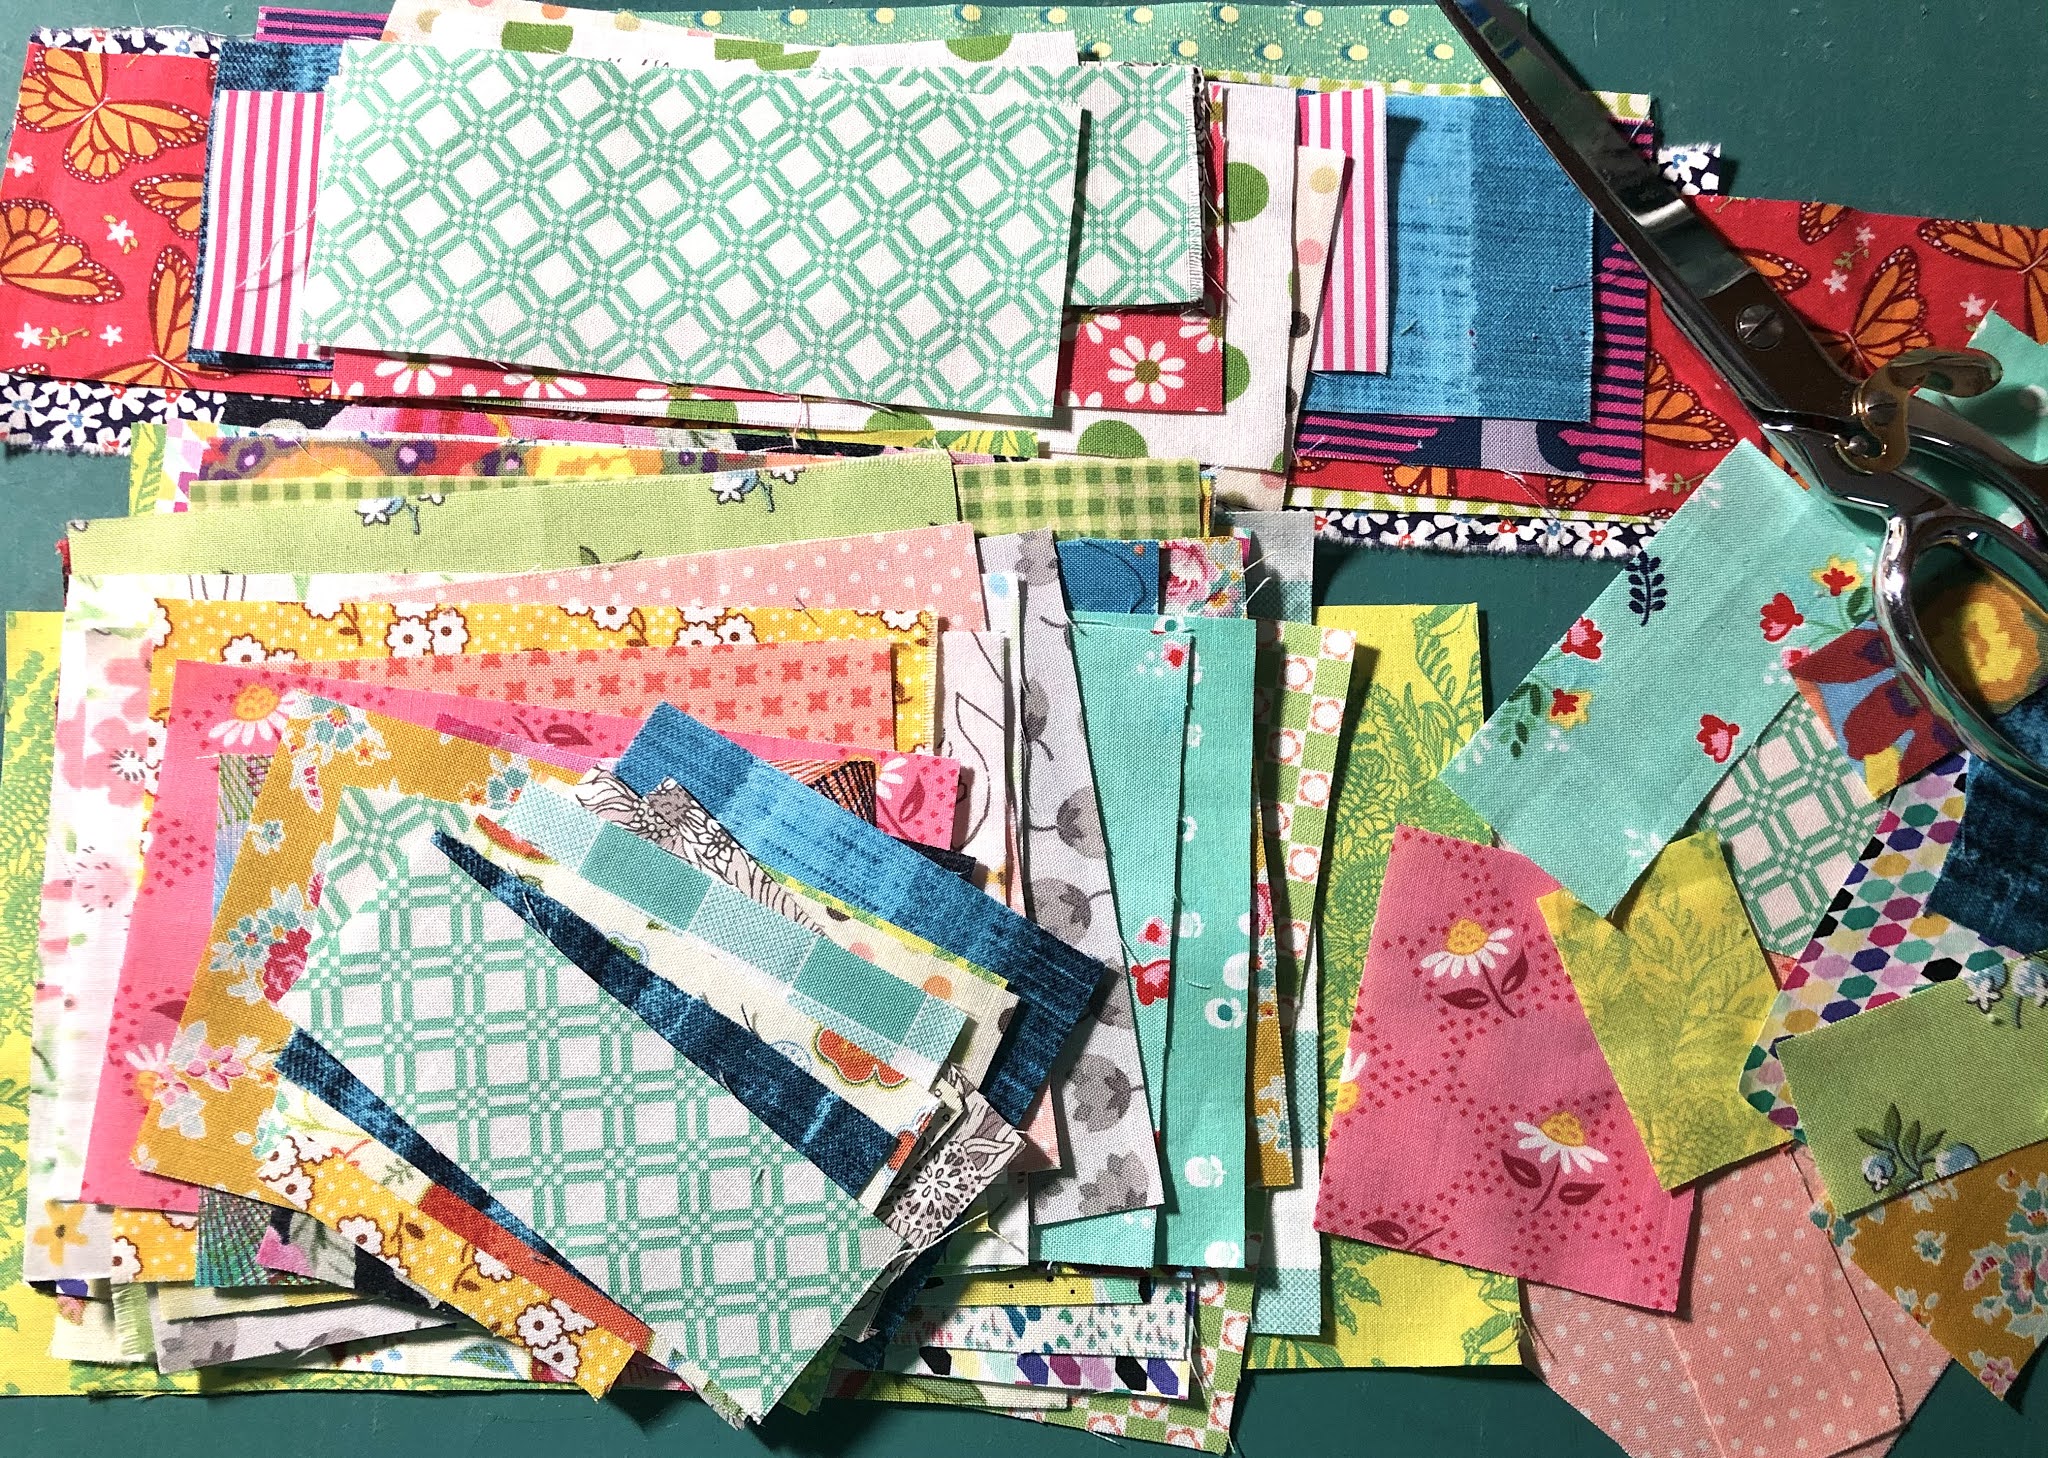
I'm still making scraps, trimming up fabric from my 

Bessie Creek Rd quilt....


Most are larger and may be stored separately, for 

foundation paper piecing or a Scrappy Sandwiches quilt 

perhaps?


I've celebrated my scrap organisation by treating myself 

to some new fabric,

including some new Monika Forsberg!

Happy sewing!

SUZ


Wednesday, May 19, 2021

Scrap busting.....again!

We all have scraps, no matter how hard we try to 

control them!


I recently sorted out my small box of scraps that sits on 

my cutting table, slowly multiplying since the beginning 

of the year.


 After trimming them into pieces with straight edges,

 I started mindlessly piecing blocks!


The blocks finish at 9"


Then I found LAST year's scraps!

So more sorting was required.


I now have a rather full tub of neatly trimmed scraps of 

all sizes!
 

 Enough for many more blocks!


I imagine this will be a long-term project, 

in between piecing, quilting and sewing other things!

Happy sewing!

SUZ

Tuesday, May 11, 2021

Always Learning!

 I had little idea of how rulers worked with machine 

quilting, so its been a big learning curve!

But I'm having fun in the process!


After only one lesson, and plenty of YouTube time, I'm 

enjoying trying out many designs.

The four week, 20 hour quilting course was very 

reasonably priced.

Having to buy seven rulers to start was not so good!

That's why I am trying to educate myself.

There's no way I am going to be talked into more 

rulers!

(Besides, the teacher took too much time helping 

a student learn how to use her fancy new machine,

or selling threads to other students!)

There are so many great videos out there to help you.

This one  (linked) by Angela Walters might inspire you!

All you really need is a ruler foot and a quilting ruler.

The ruler foot needs to be either a low or high shank 

one, depending on your machine.


Quilting rulers are made by many, many companies!

You may notice there are two different looking rulers 

here...

solid straight and curved ones,

The stickers are there so the rulers don't get mixed up in class.

and ones with cut outs.

And there are little rubbery bits of tape attached to help with grip

I haven't quite worked out which ones are better or 

which I prefer yet...

So I guess I'll just keep practising!


Still some wonky sewing happening!

Happy sewing!

SUZ


Related Posts Plugin for WordPress, Blogger...