Showing posts with label hints. Show all posts

Sunday, July 30, 2017

Not Working Harder....

just smarter!

Well, mostly! But more on that soon...

I've been making Month #5 block of "Delilah" quilt,


while "Alice" sits in a corner and sulks, 
because she didn't turn out as pretty as hoped!


I commented that these North Star blocks seem to 

take longer to cut out than piece.


So I thought I'd share how I managed to make the 

cutting a bit quicker.

I cut rectangles of each fabric 

(here are the measurements for each shape:)

T19- 2" x 5"
T20- 2" x 4"
T21- 2.75" x 5"

and layered them in groups of four, flipping the 

template as required.


Rotating these smaller pieces of fabric is much easier than turning oneself inside out cutting around all these corners!

Pressing seams open makes for a block that lays flat 

too.


A completed block from the back....


and from the front!

This one is quite subtle, which I like!


This wasn't the smartest bit of sewing of the day.....


needless to say a bit of 'un-sewing' was required!


Ah, that's better!


Here are they are together,


and a group shot of all my blocks so far!

Two more of these to make and Month #5 is 

complete!

Happy sewing!

SUZ


Thursday, July 7, 2016

Hint, hint...

I have never had a formal applique lesson so

 anything I do is never going to win a blue ribbon!

Chuck Nohara #cn1044 - no applique on this one!

But I have picked up a couple hints that have really 


helped me and thought I'd share them here...


I love "Best Press" but it is pricey here in Australia.

So rather than spraying randomly over small pieces 

of fabric, where most settles on the ironing board...


 spray some into a small dish and 'paint' it on!

Ironing a crease around the freezer paper template 

is much easier this way.

#cn564

I was still having all sorts of trouble turning the 

edges of my shapes,

particularly the inner corners.


So my friend Elizabeth, 

who blogs over at Occasional Piece ,


suggested I check out 


Wow! What a revelation that was!


See that toothpick up there in the top lefthand 

corner....

that helps turn the edges under like magic!

Where's Wally?  #cn345
There's always something to learn, isn't there?

And that also completes July's Chuck Nohara blocks!

Happy sewing...

SUZ

Saturday, May 30, 2015

Melbourne Town!

That is what I have decided to call 

the "My Small World" quilt.


I have had some fun this week personalising it...


with my own embroideries.

I find it easier with the little blocks 

when lots of seams meet,


to iron them open.

I make the small pinwheels by

cutting two 2" squares of each colour 


and drawing a diagonal line.

Stitch a scant 1/4" seam either side of the line, 

cut apart and press open.


Trim each to 1.5" each 


and construct the pinwheel!


To make the larger one I start with a 3" square...

I found this top triangular shape easier 


to foundation paper piece...

Draw a 2" square and mark the halfway point at the top


I followed Molly Flanders applique method for my 

clamshells...


To make this block, which uses the 'V' template,


I cut two 4" squares, cut them on the diagonal, 


sew opposite colours together and 

trim the final block to 4.5"

More pattern corrections can be found here

Happy sewing!

SUZ

Tuesday, May 19, 2015

Shortcuts.....

My Small World quilt is progressing…..

Panel Two

I love using my little design board….


It makes it easier to move pieces from machine to 

iron and back again

Appliquing using freezer paper is a well known 

method…


But I read somewhere that if you build up two or 

three layers of paper, 

it makes the job easier.

Trace to freezer paper


Cut out


Iron to the back of the fabric

Press edges in

Of course, the freezer paper is removed before

appliquing!

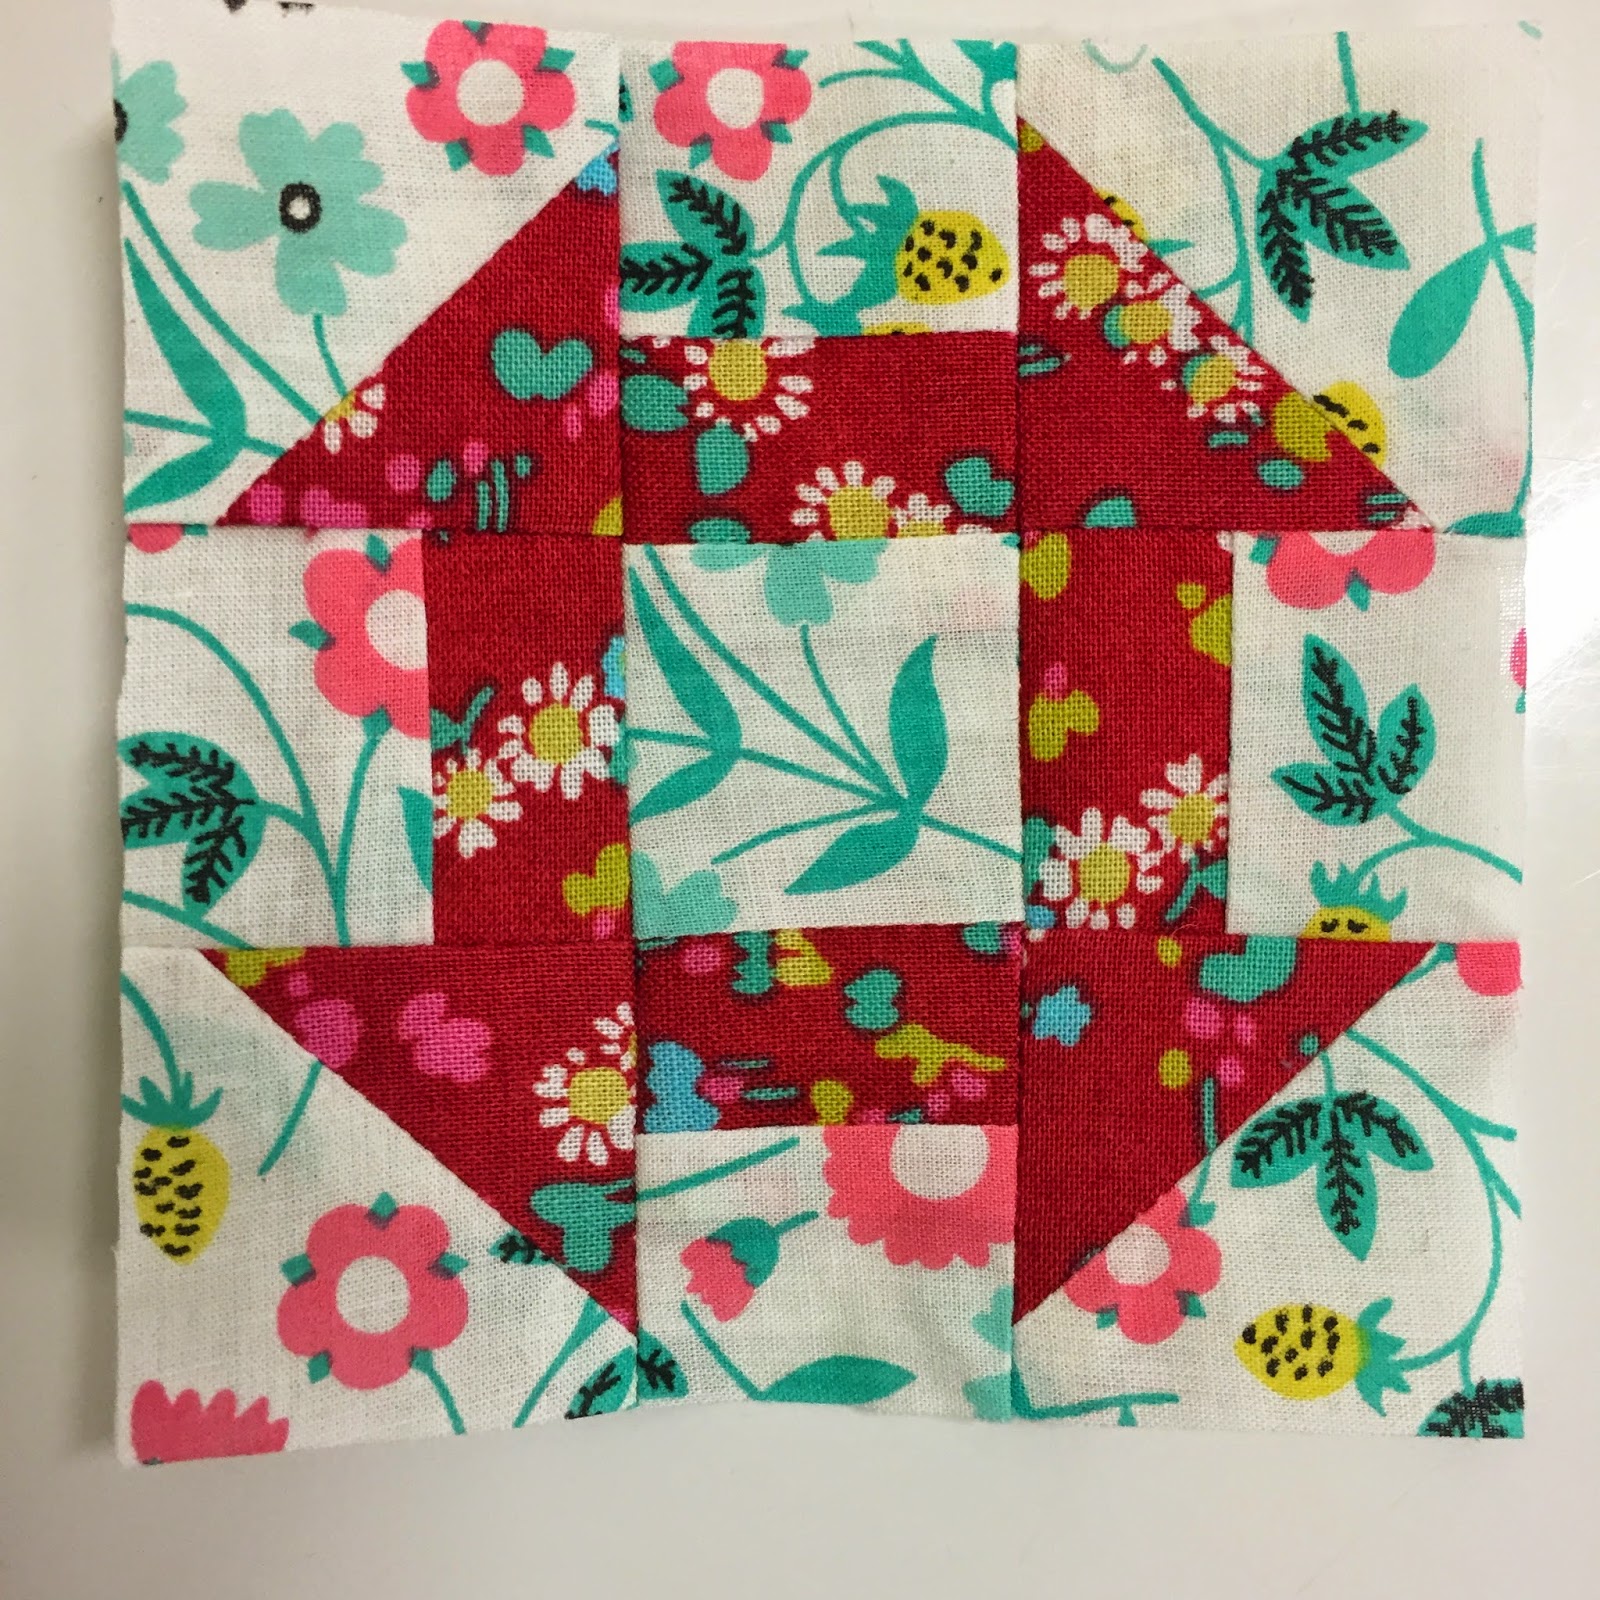
The Churn dash block is easier to make if you 

cut out pieces like this….


Two 2” squares of each colour,  

one  1” x 6” strips of 

each colour, 

one 1.5” centre square

 (I think the instructions say 2.5" for this one, 

but I maybe wrong...)

Make HST the quick way (see previous post)

Strip piece the 6” strips together before cutting into 

the 1.5” pieces required.

Construct in the regular manner.

I made mine with Liberty Tana Lawn.


This fine fabric makes for flat little blocks.

I will leave you contemplating these pieces….


I had some trouble constructing these so I’ll be

back with the maths soon….

I am now onto panel three!


Happy sewing!


SUZ
Related Posts Plugin for WordPress, Blogger...